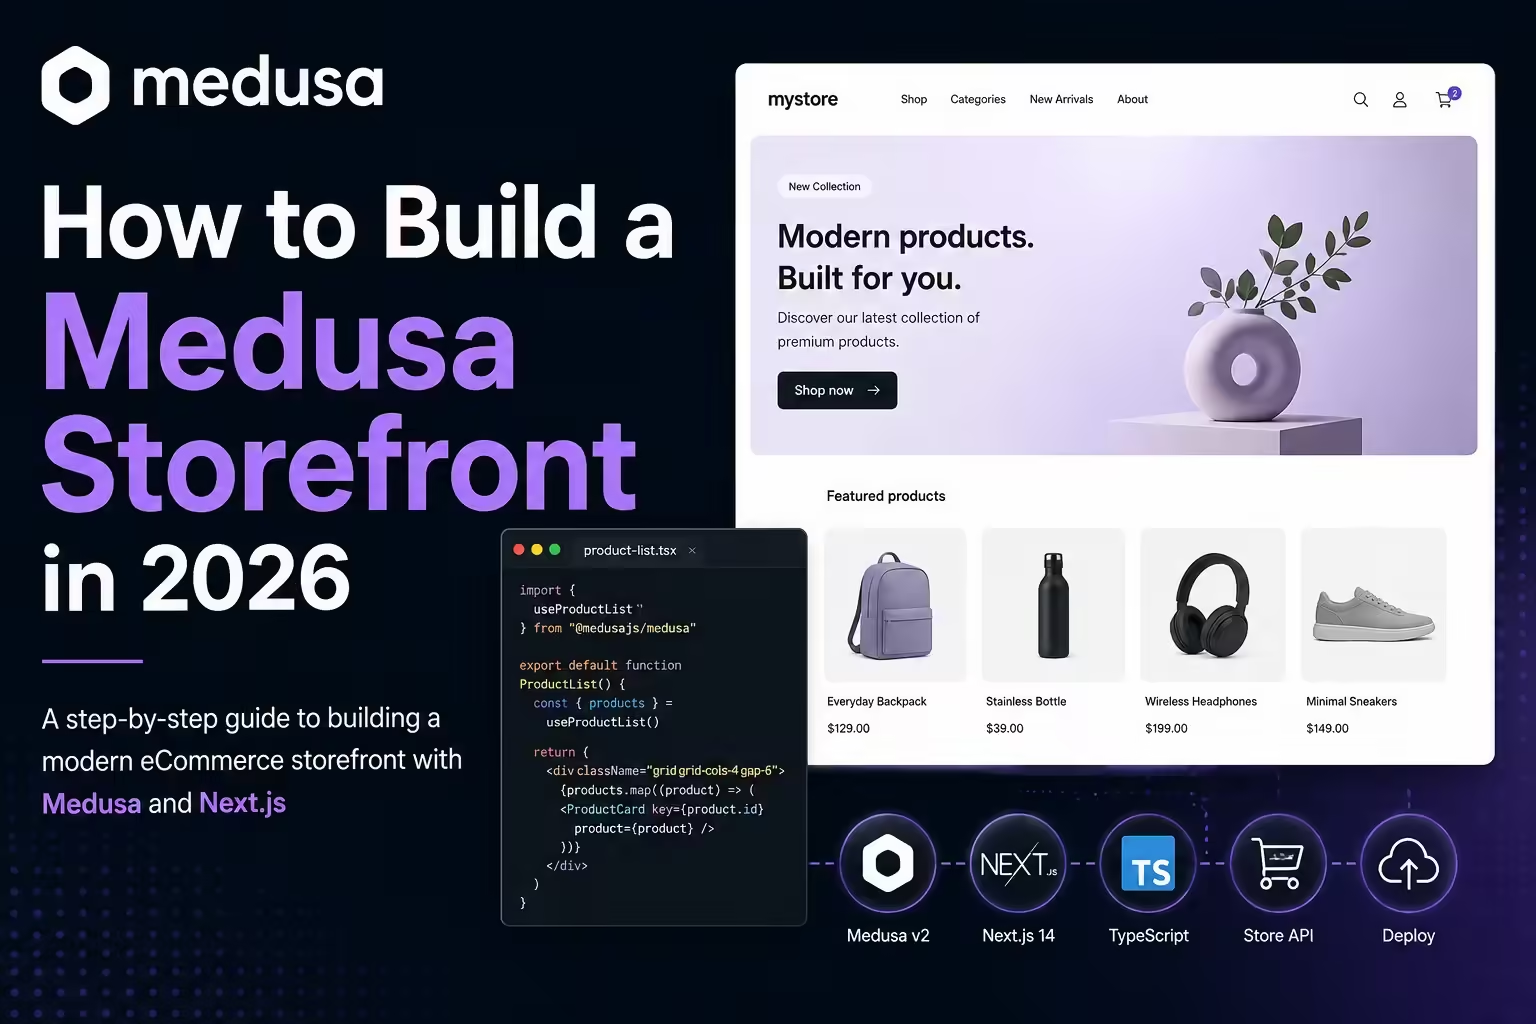
If you want the fastest way to see Medusa running, start with the official project generator. It can scaffold the Medusa backend, admin dashboard, database setup, and optionally the Next.js Starter Storefront from one command, then you can decide how much of the stack you want to customize.
This guide is intentionally narrower than a full production build. The goal is to get a current Medusa 2.x webshop running locally, understand what the generated project contains, and avoid the old setup instructions that still appear in older tutorials.
Quick Answer
For a new local Medusa project in 2026, use create-medusa-app@latest. Install Node.js 20.19+ or 22.12+, Git, and PostgreSQL first. If you want the storefront generated with the backend, include the Next.js Starter option during setup or use the starter flag supported by the current CLI.
npx create-medusa-app@latest my-medusa-storeDuring setup, choose whether to install the Next.js Starter Storefront. When the install finishes, the Medusa application runs at http://localhost:9000, the admin dashboard is at http://localhost:9000/app, and the starter storefront runs at http://localhost:8000 when installed.
What changed from the older Medusa tutorials
| Old instruction | Current direction |
|---|---|
| Install a global Medusa CLI first | Use create-medusa-app directly through npx, yarn dlx, or pnpm dlx. |
| Expect backend, admin, and storefront as three separate top-level folders | Current projects are monorepos. The backend lives under apps/backend and the optional storefront under apps/storefront. |
| Use medusa-config.js snippets | Current Medusa apps use medusa-config.ts with defineConfig. |
| Assume Node 16 is enough | Use Node.js 20.19+ or 22.12+ LTS. Keep Node below 25 when installing the Next.js Starter Storefront. |
| Use v1 plugin package names like medusa-file-s3 or medusa-payment-stripe | Medusa 2 uses module providers such as @medusajs/medusa/payment-stripe and the File Module provider model. |
Prerequisites
- Node.js: use an LTS version supported by current Medusa, such as Node 20.19+ or 22.12+.
- Git: required by the project generator and useful for reviewing generated changes.
- PostgreSQL: Medusa needs a running Postgres database for local development.
- Package manager: npm works, but Medusa recommends yarn or pnpm for faster installs.
Create the Medusa webshop
Run the generator from the directory where you want the project folder to be created:
npx create-medusa-app@latest my-medusa-storeThe CLI asks for project and database details, then creates the app. If you install the storefront during setup, the generated monorepo includes both the backend/admin app and the Next.js storefront.
The current default structure looks like this:
my-medusa-store/
├── apps/
│   ├── backend/
│   │   ├── src/
│   │   ├── package.json
│   │   └── medusa-config.ts
│   └── storefront/
│       ├── src/
│       ├── package.json
│       └── next.config.js
├── package.json
└── pnpm-workspace.yaml
Backend, admin, and storefront: how they fit together
The Medusa application is the commerce backend plus the Vite-powered admin dashboard. It owns products, variants, regions, carts, orders, customers, payment configuration, fulfillment configuration, and custom modules.
The storefront is a separate customer-facing app. The Next.js Starter Storefront talks to the Medusa backend through Store API routes and a publishable API key. That separation is the point: Medusa owns commerce state, while the storefront owns the buying experience.
If you want a deeper storefront customization walkthrough, use the Medusa and Next.js ecommerce guide after this setup page. This article should stay focused on getting the current project running cleanly.
Environment and configuration you should check
Open apps/backend/medusa-config.ts after installation. The important local values are the database URL, CORS settings, JWT secret, and cookie secret. For a local storefront, make sure storeCors includes the storefront URL you actually use, usually http://localhost:8000 or http://localhost:3000.
import { loadEnv, defineConfig } from "@medusajs/framework/utils"

loadEnv(process.env.NODE_ENV || "development", process.cwd())

module.exports = defineConfig({
  projectConfig: {
    databaseUrl: process.env.DATABASE_URL,
    http: {
      storeCors: process.env.STORE_CORS!,
      adminCors: process.env.ADMIN_CORS!,
      authCors: process.env.AUTH_CORS!,
      jwtSecret: process.env.JWT_SECRET || "supersecret",
      cookieSecret: process.env.COOKIE_SECRET || "supersecret",
    },
  },
})
If the storefront cannot fetch products or cart data, check the backend URL, publishable API key, and CORS value before changing application code.
Run the app again after installation
After the generator exits, you can restart the backend/admin from the backend app directory:
cd my-medusa-store/apps/backend
npm run dev
If your project uses pnpm or yarn, use the matching package-manager command from the generated package.json. The backend and admin run together at http://localhost:9000 and http://localhost:9000/app.
Start the storefront from apps/storefront if you installed it:
cd my-medusa-store/apps/storefront
npm run dev
Troubleshooting Common Medusa Setup Problems
If the generated project does not run cleanly, debug the boundary first: database, environment variables, ports, backend URL, publishable key, and CORS. Most first-run failures happen there.
| Symptom | Likely cause | Fix |
|---|---|---|
ECONNREFUSED ::1:5432 or 127.0.0.1:5432 | The backend cannot reach PostgreSQL, or the database URL points to the wrong host, port, user, password, or database. | Start PostgreSQL and check DATABASE_URL. If you use a non-default database, pass --db-url to create-medusa-app. Keep Medusa’s database troubleshooting guide nearby. |
SASL: client password must be a string | The database connection string is malformed, often because a password is missing or parsed incorrectly. | Rewrite the connection URL in the standard postgres://user:password@host:5432/dbname format and rerun the setup. |
Browser shows a CORS error from localhost:9000 | The storefront origin is not allowed by the backend. | Add the exact storefront URL to STORE_CORS. If auth routes are involved, update AUTH_CORS too. Medusa’s CORS guide shows the expected local values. |
Products, carts, or checkout calls fail with x-publishable-api-key | The storefront is missing a publishable API key, using the wrong key, or the key is not scoped to the right sales channel. | Create or copy a publishable key in Medusa Admin, attach the correct sales channel, set NEXT_PUBLIC_MEDUSA_PUBLISHABLE_KEY, and restart the storefront. Medusa’s publishable key guide covers the scope model. |
| The storefront builds with 404 or network errors | Next.js is trying to fetch Medusa data at build time, but the backend is not reachable from the build environment. | Set NEXT_PUBLIC_MEDUSA_BACKEND_URL to a reachable backend and verify /health before building. The Next.js build troubleshooting guide is the right reference here. |
EADDRINUSE on startup | Another process already owns the port Medusa wants to use, usually 9000. | Stop the existing process or change the local port before restarting the backend. |
| Install fails on a very new Node version | The current Medusa setup expects supported LTS versions, and the Next.js Starter has its own compatibility ceiling. | Use Node 20.19+ or 22.12+ LTS. If you install the Next.js Starter Storefront, stay below Node 25. |
What not to Do
Avoid old snippets that install @medusajs/medusa-cli globally, create separate admin, backend, and storefront folders, or configure integrations in medusa-config.js. Those instructions belong to older Medusa workflows and will send a new project in the wrong direction.
The same applies to old plugin packages. For files, current Medusa uses the File Module and file module providers. For payments, current Medusa uses the Payment Module Provider model. If your next step is product images or storage, use the Medusa file-service plugin guide as an older companion article only after checking it against the current module docs.
When this one-command setup is enough
This setup is enough when you want to explore Medusa, build a proof of concept, or get a local backend and storefront running before choosing deployment and integrations. It gives you the core shape of the system without forcing you to design the entire commerce architecture on day one.
When you need the bigger Medusa + Next.js build
Move beyond this setup when you need custom product pages, checkout changes, Stripe configuration, Algolia search, production file storage, deployment, or a tailored storefront. At that point, the work is no longer “one command.” You are building a commerce application with Medusa as the backend and Next.js as the customer-facing layer.
Final notes
The useful mental model is simple: Medusa is the commerce engine and admin. The storefront is the customer app. create-medusa-app@latest gives you the starting point, but production work still needs deliberate choices around database hosting, CORS, publishable keys, payment providers, file storage, deployment, and storefront customization.