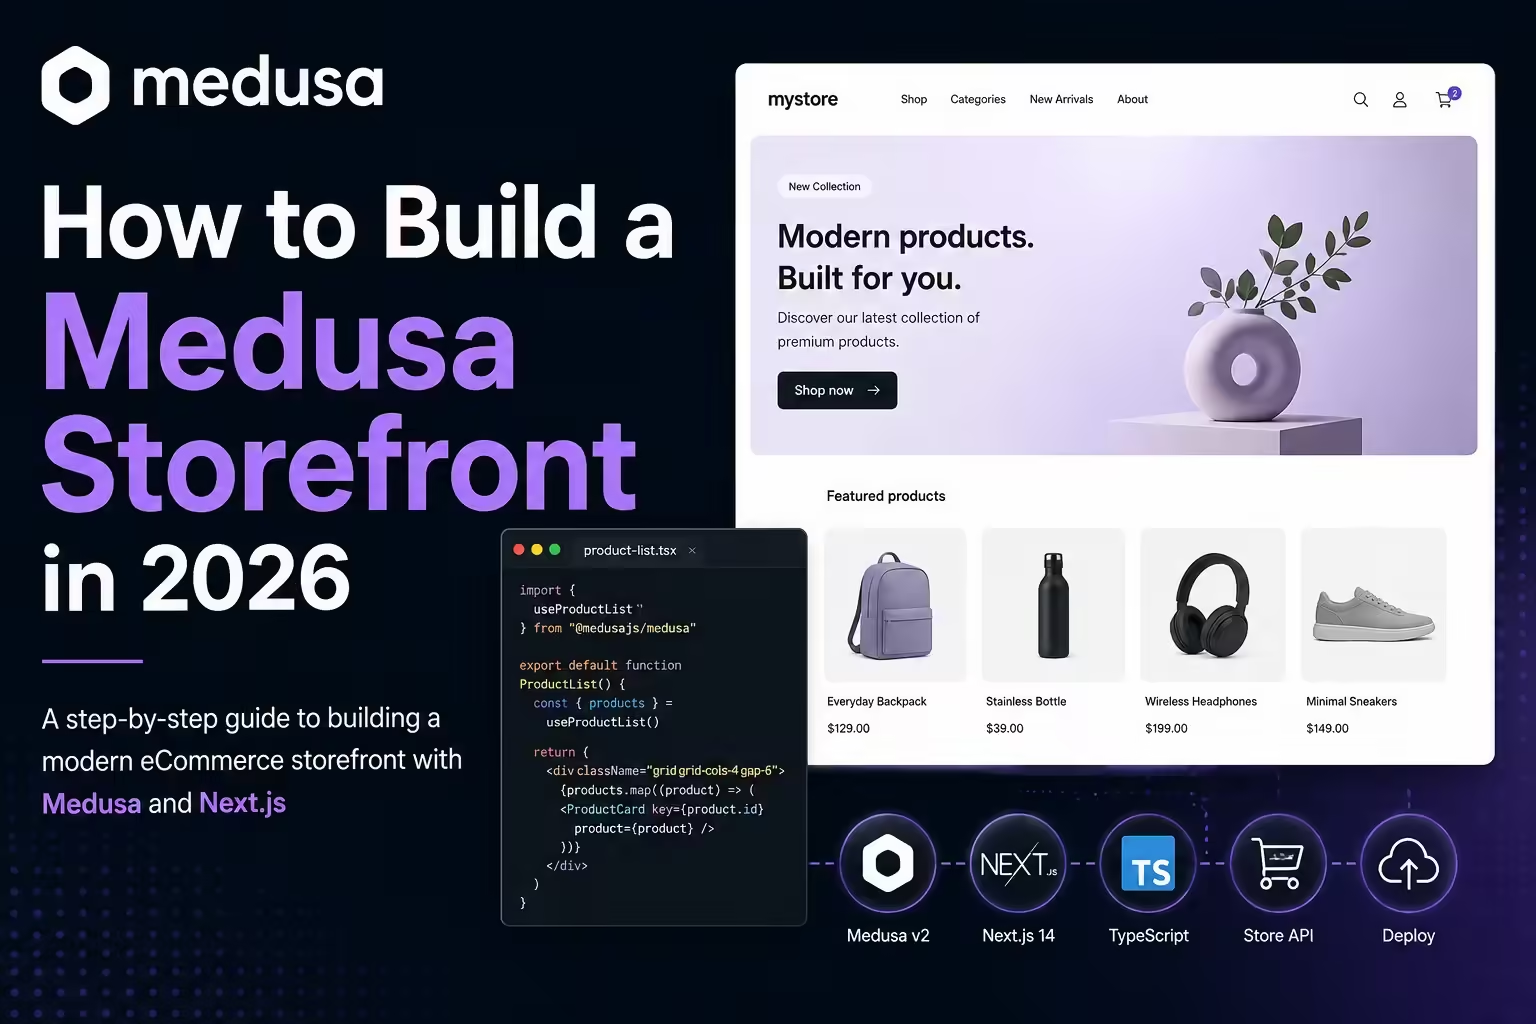
By the end of this tutorial, you will have a small Medusa storefront flow you can actually follow: connect a Next.js storefront to Medusa, load products, open product pages, create a cart, add an item, and understand what needs to happen before checkout works.
I am assuming you already have a current Medusa 2.x project. If you do not, start with the Medusa webshop setup guide first, then come back here. This article picks up after setup and focuses on the customer-facing storefront.
What we are going to build
We will build the first working slice of a Medusa storefront: a product listing page, a product detail page, and cart helper functions that you can wire into buttons. The code is intentionally small so you can see the moving parts instead of fighting a huge starter codebase.
| Part | What it does |
|---|---|
| SDK client | Connects the storefront to your Medusa backend. |
| Environment variables | Tell Next.js where the backend is and which publishable API key to use. |
| Product helpers | Fetch product lists and product pages from Medusa. |
| Region helper | Finds a region so cart and pricing calls have commerce context. |
| Cart helpers | Creates a cart, retrieves it, and adds product variants. |
| Troubleshooting | Fixes the common errors that make the storefront look broken even when the code is close. |
Prerequisites
Before you write any storefront code, make sure the machine can actually run a Medusa project. Do not skip this part. If one of these checks fails, fix it first or the later storefront errors will be noisy and confusing.
- Node.js: use Node 20.19+ or Node 22.12+ LTS. Avoid very new non-LTS versions for this tutorial.
- Git: required by the Medusa project generator and useful for reviewing generated files.
- PostgreSQL: required by the Medusa backend. You can install PostgreSQL directly, use a managed Postgres database, or run Postgres in Docker.
- A package manager: npm works for the commands here. If your generated project uses pnpm or yarn, use the matching scripts from its
package.json. - A Medusa project with a storefront: this tutorial assumes the backend and storefront already exist. Step 0 below shows the shortest path if you are starting fresh.
Run these checks in a terminal:
node --version
git --version
npm --version
psql --version
If psql --version says the command is not recognized, PostgreSQL may be missing or not added to your PATH. That is not a React problem. Install PostgreSQL, use pgAdmin to confirm your server is running, or use a Docker Postgres container before you continue.
Step 0: Create the Medusa project if you do not have one yet
If you already followed the Medusa webshop setup guide, you can skip this step. If you are starting from an empty folder, create a current Medusa project and choose the Next.js Starter Storefront during setup:
npx create-medusa-app@latest my-medusa-storeWhen the CLI asks what to install, include the storefront. Wait for the install to finish before you edit files. If the generator hangs or fails during dependency install, rerun it with a stable internet connection and confirm PostgreSQL is reachable. Do not start writing storefront files until the generated backend can run.
Before you start coding
Open your generated Medusa project. In a current create-medusa-app setup, the backend and storefront usually live in a monorepo like this:
my-medusa-store/
  apps/
    backend/
      medusa-config.ts
      .env
    storefront/
      .env.local
      src/
  package.json
Keep two terminal windows open while you work: one for the backend and one for the storefront.
# terminal 1
cd my-medusa-store/apps/backend
npm run dev

# terminal 2
cd my-medusa-store/apps/storefront
npm run dev
The backend should respond at http://localhost:9000. The admin should open at http://localhost:9000/app. The storefront usually runs on http://localhost:8000 in the official starter, though your local port may differ.
Sanity check: confirm the backend works
Before touching the storefront, make sure the backend is alive. Open http://localhost:9000/health in your browser. You should see an OK response. Then open http://localhost:9000/app and confirm the admin loads.
If the backend is not running, stop here and fix the backend first. The storefront code below depends on products, regions, carts, and publishable API keys from Medusa. Without a working backend, every later step becomes guesswork.
Step 1: Install the Medusa JS SDK
If you are using the official Next.js Starter, the SDK setup may already exist. If you are building a smaller custom storefront, install the current SDK packages from Medusa’s storefront connection guide:
npm install @medusajs/js-sdk@latest @medusajs/types@latestThis gives your Next.js app a typed client for Store API calls. You can use direct REST requests too, but the SDK keeps the examples cleaner.
Step 2: Add storefront environment variables
In apps/storefront/.env.local, add the backend URL and publishable API key:
NEXT_PUBLIC_MEDUSA_BACKEND_URL=http://localhost:9000
MEDUSA_BACKEND_URL=http://localhost:9000
NEXT_PUBLIC_MEDUSA_PUBLISHABLE_KEY=pk_123
Replace pk_123 with a real publishable key from Medusa Admin. Publishable keys are public storefront keys, but they are still scoped to sales channels. If your product list is empty later, do not skip this detail. Medusa’s publishable API key guide explains the scope model.
Step 3: Allow the storefront in backend CORS
In apps/backend/.env, make sure the storefront origin is allowed:
STORE_CORS=http://localhost:8000,http://localhost:3000
AUTH_CORS=http://localhost:8000,http://localhost:3000,http://localhost:9000
Use the port your storefront actually runs on. If Next.js starts on 3000, include 3000. If it starts on 8000, include 8000. Restart the backend after changing CORS values.
Step 4: Create one SDK client
Create apps/storefront/src/lib/sdk.ts. Keeping the SDK in one file makes the rest of the tutorial easier to follow.
// apps/storefront/src/lib/sdk.ts
import Medusa from "@medusajs/js-sdk"

let MEDUSA_BACKEND_URL = "http://localhost:9000"

if (process.env.NEXT_PUBLIC_MEDUSA_BACKEND_URL) {
  MEDUSA_BACKEND_URL = process.env.NEXT_PUBLIC_MEDUSA_BACKEND_URL
}

export const sdk = new Medusa({
  baseUrl: MEDUSA_BACKEND_URL,
  debug: process.env.NODE_ENV === "development",
  publishableKey: process.env.NEXT_PUBLIC_MEDUSA_PUBLISHABLE_KEY,
})
This file says: use the local backend by default, override it from the environment when deployed, and send the publishable key with Store API requests.
Step 5: Fetch products from Medusa
Now create a small product data file at apps/storefront/src/lib/data/products.ts.
// apps/storefront/src/lib/data/products.ts
import { sdk } from "@/lib/sdk"

export async function listProducts() {
  const { products } = await sdk.store.product.list()
  return products
}

export async function getProductByHandle(handle: string) {
  const { products } = await sdk.store.product.list({ handle })
  return products[0] ?? null
}
The first function returns products for a listing page. The second one fetches a single product by handle, which gives you cleaner URLs such as /products/black-t-shirt.
Step 6: Build the product listing page
Create apps/storefront/src/app/products/page.tsx. If your app uses a different app directory layout, place this in the matching route folder.
// apps/storefront/src/app/products/page.tsx
import Link from "next/link"
import { listProducts } from "@/lib/data/products"

export default async function ProductsPage() {
  const products = await listProducts()

  return (
    <main>
      <h1>Products</h1>

      {products.length === 0 ? (
        <p>No products found.</p>
      ) : (
        <ul>
          {products.map((product) => (
            <li key={product.id}>
              <Link href={`/products/${product.handle}`}>
                {product.title}
              </Link>
            </li>
          ))}
        </ul>
      )}
    </main>
  )
}
Visit /products. If you see products, your backend URL, CORS, publishable key, sales channel, and product setup are all close enough to keep going. If you see “No products found,” jump to the troubleshooting section before changing the React code.
Step 7: Build a product detail page
Create apps/storefront/src/app/products/[handle]/page.tsx. This page reads the handle from the URL, fetches the matching Medusa product, and shows a simple product page.
// apps/storefront/src/app/products/[handle]/page.tsx
import { notFound } from "next/navigation"
import { getProductByHandle } from "@/lib/data/products"
import { AddToCartButton } from "@/components/add-to-cart-button"

export default async function ProductPage({
  params,
}: {
  params: Promise<{ handle: string }>
}) {
  const { handle } = await params
  const product = await getProductByHandle(handle)

  if (!product) {
    notFound()
  }

  return (
    <main>
      <a href="/products">Back to products</a>
      <h1>{product.title}</h1>
      {product.description && <p>{product.description}</p>}
      <p>Variants: {product.variants?.length ?? 0}</p>
      {product.variants?.[0]?.id && (
        <AddToCartButton variantId={product.variants[0].id} />
      )}
    </main>
  )
}
This is not a polished product page yet. That is fine. At this stage, you want proof that your storefront can retrieve one product, route to it reliably, and pass a real variant ID into the cart flow.
Step 8: Add a region helper
Medusa regions control currency, pricing, shipping, taxes, and payment options. Before you create a cart, get a region. For a simple tutorial, use the first available region and improve region switching later. Medusa’s regions guide covers the production version of this pattern.
// apps/storefront/src/lib/data/regions.ts
import { sdk } from "@/lib/sdk"

export async function getDefaultRegion() {
  const { regions } = await sdk.store.region.list()

  if (!regions[0]) {
    throw new Error("No Medusa region found")
  }

  return regions[0]
}
If this throws, configure at least one region in Medusa Admin before continuing. A storefront without a region will get stuck around pricing, cart, shipping, or payment.
Step 9: Create cart helpers
Create apps/storefront/src/lib/data/cart.ts. This keeps the cart flow readable before you wire it into UI. Medusa’s cart docs use the same basic shape: create a cart, keep the cart ID, retrieve it, and add line items.
// apps/storefront/src/lib/data/cart.ts
import { sdk } from "@/lib/sdk"
import { getDefaultRegion } from "@/lib/data/regions"

export async function createCart() {
  const region = await getDefaultRegion()
  const { cart } = await sdk.store.cart.create({
    region_id: region.id,
  })

  return cart
}

export async function retrieveCart(cartId: string) {
  const { cart } = await sdk.store.cart.retrieve(cartId)
  return cart
}

export async function addLineItem(
  cartId: string,
  variantId: string,
  quantity = 1
) {
  const { cart } = await sdk.store.cart.createLineItem(cartId, {
    variant_id: variantId,
    quantity,
  })

  return cart
}
The missing piece is persistence. For a quick client-side prototype, store the cart ID in localStorage. For a production Next.js app, consider an HTTP-only cookie so server-rendered routes can read the cart safely.
Step 10: Add the first item to a cart
To keep the tutorial focused, start with a helper that creates a cart when needed, stores the cart ID, and adds one variant. Put this in a client-side file such as apps/storefront/src/lib/cart-client.ts.
// apps/storefront/src/lib/cart-client.ts
import { addLineItem, createCart } from "@/lib/data/cart"

const CART_ID_KEY = "medusa_cart_id"

export async function addVariantToCart(variantId: string) {
  let cartId = window.localStorage.getItem(CART_ID_KEY)

  if (!cartId) {
    const cart = await createCart()
    cartId = cart.id
    window.localStorage.setItem(CART_ID_KEY, cart.id)
  }

  return addLineItem(cartId, variantId)
}
This file uses window.localStorage, so only call it from a client component. Do not import it into a server component or a route handler.
Step 11: Create the add-to-cart button
Create apps/storefront/src/components/add-to-cart-button.tsx. This gives the product page a visible action instead of leaving the cart helper floating in the codebase.
// apps/storefront/src/components/add-to-cart-button.tsx
"use client"

import { useState } from "react"
import { addVariantToCart } from "@/lib/cart-client"

export function AddToCartButton({ variantId }: { variantId: string }) {
  const [status, setStatus] = useState<"idle" | "adding" | "added" | "error">("idle")

  async function handleClick() {
    try {
      setStatus("adding")
      await addVariantToCart(variantId)
      setStatus("added")
    } catch (error) {
      console.error(error)
      setStatus("error")
    }
  }

  return (
    <button onClick={handleClick} disabled={status === "adding"}>
      {status === "adding" && "Adding..."}
      {status === "added" && "Added to cart"}
      {status === "error" && "Try again"}
      {status === "idle" && "Add to cart"}
    </button>
  )
}
Now visit a product page and click the button. A successful click means the storefront can read a product variant, create a cart with a region, store the cart ID, and add the variant as a line item. That is the first real storefront loop.
Step 12: Know where checkout starts
Checkout is more than a button. A working Medusa checkout needs customer email, shipping address, shipping option, payment collection/session, and final cart completion. If you are using the official starter, much of this is already wired. If you are building custom checkout, use Medusa’s checkout guide and build one step at a time.
Payment setup also lives on the backend. The storefront can only offer payment methods that are configured for the selected region. That is why region, cart, shipping, and payment cannot be treated as separate random tasks.
Step 13: Prepare for production
When the storefront works locally, deployment is mostly about replacing localhost with real environment values. If you use Medusa Cloud storefront hosting, check the Medusa Cloud storefront deployment guide. For other hosts, make sure the backend is reachable from both browser and server-side Next.js code.
- Set
NEXT_PUBLIC_MEDUSA_BACKEND_URLto the deployed backend. - Set
MEDUSA_BACKEND_URLfor server-side routes and build-time data fetching. - Create a production publishable API key.
- Attach the production sales channel to that key.
- Add the production storefront domain to
STORE_CORS. - Configure payment providers for the production region.
Troubleshooting common Medusa storefront errors
| Symptom | Likely cause | Fix |
|---|---|---|
| Product list is empty | The publishable API key is missing, scoped to the wrong sales channel, or your products are not assigned to the channel. | Check the key in Admin, attach the correct sales channel, restart the storefront, and use Medusa’s publishable key troubleshooting guide if the error mentions sales channels. |
| Browser shows a CORS error | The storefront origin is not allowed by the backend. | Add the exact storefront URL to STORE_CORS. If login or account routes fail, check AUTH_CORS too. Medusa’s CORS troubleshooting guide gives the expected pattern. |
| Next.js build fails with 404s | The build process tries to fetch Medusa data while the backend is unreachable or the env vars are missing. | Confirm the backend URL and publishable key exist in the build environment, then check /health. Medusa has a focused Next.js build 404 guide. |
| Cart works locally but fails after deploy | Production CORS, region, payment, or publishable key setup differs from local setup. | Compare local and production env values, then check the sales channel, region, and payment provider configuration. |
| Storefront cannot reach backend | The URL works in your browser but not from the environment where Next.js is running. | Use a backend URL reachable from the browser and from server-side Next.js code. Do not leave production builds pointing at localhost. |
Where to go next
You now have the shape of a working Medusa storefront: SDK connection, products, product pages, region context, cart helpers, and a checkout path to finish. For a bigger build with more storefront customization, compare this with the Medusa and Next.js ecommerce walkthrough.
The smile-at-the-end moment is this: once the storefront can fetch products and create a cart, you are no longer staring at a framework. You have a commerce app with real data moving through it. From here, every improvement is concrete: better product cards, cleaner cart UX, faster loading states, sharper checkout, and production-ready deployment.